Are you hiring a photographer or even shooting your own photos for your website. Here are a few things to keep in mind when you’re planning ahead.
Tip 1: Shoot Landscape As Much As Possible
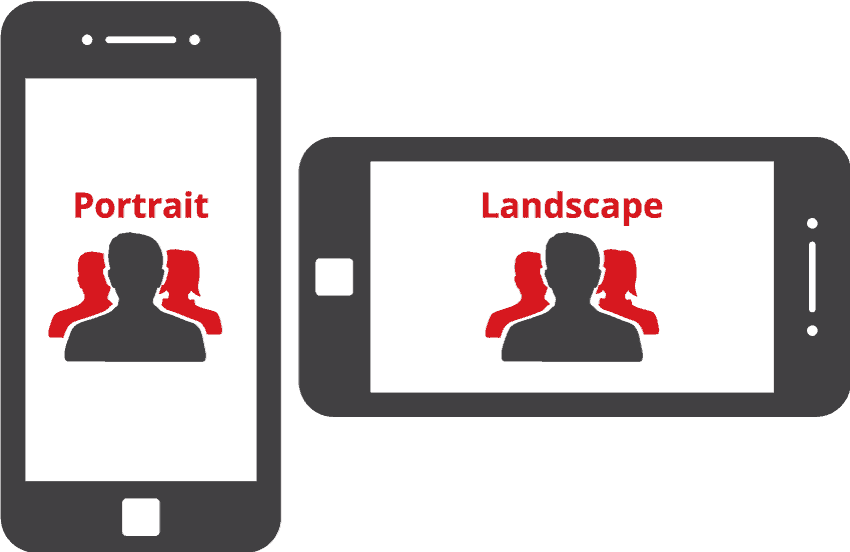
It seems like everyone is shooting photos and videos in portrait orientation these days because that’s the natural orientation of your mobile phone. The problem is that portrait orientation can very difficult to work with for web assets like backgrounds or large areas of showcase.
Whenever possible, try to shoot in the landscape orientation for maximum flexibility for website assets. One exception to this rule is head shots that would be used in a team showcase or bios page.
Tip 2: Shoot Wide Framing

Really great artistic photography often has tight framing. Why wouldn’t it? You get more bang for your buck with tight framing. We’;ve gotten used to pinching and zooming in on our selfies too.
The problem for website assets is that given how websites are “responsive” to devices and in some cases you parallax in backgrounds, tight framing can lead to clipped (or cut off) photos.
Our recommendation is to shoot the framing with top and bottom padding (or margin, etc.) so that the web designer can manipulate the image as needed. It’s easier to crop in on a shot than lose the use of a shot because it’s too tight and won’t work on the website.
Tip 3: Shallow Depth of Field
We all love them… seeing pictures where the background is blurred out, emphasizing what’s in the foreground. This is called “shallow depth of field.”
Getting a shallow depth can be really great when using photos for web assets. It automatically draws the eyes to the subject matter. You don’t have to go overboard with backgrounds that are so out of focus you can’t make anything out. Just softer in a subtle manner to match the human eye’s natural perception.
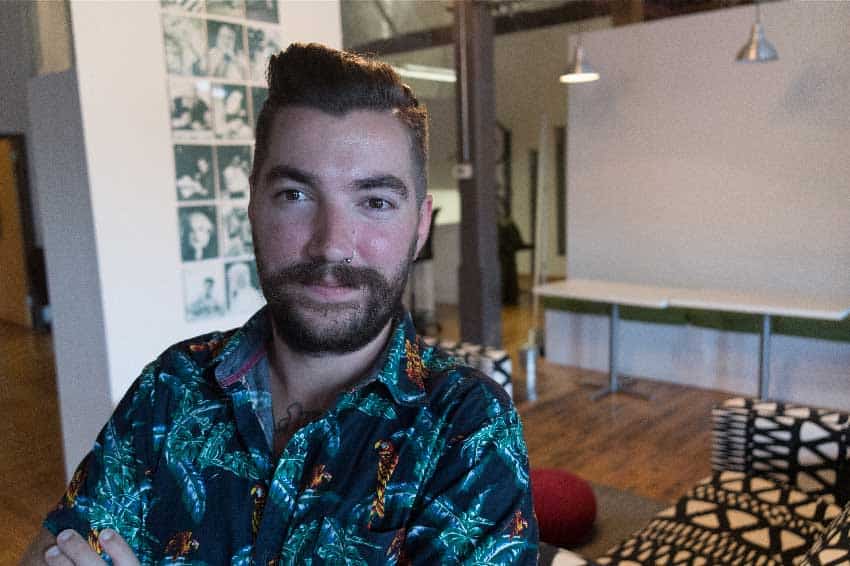
The example picture here is of Chadd, one of the partners at Right Here Interactive (before he went all bohemian with much longer hair and beard). You’ll notice the background of the office is slightly blurred out and puts the attention on Chadd’s face.
Tip 4: Reduce Hard Shadows and Major Variations in Exposure
You ever heard of “dynamic range?” Well… don’t worry if you haven’t. It’s a term mostly known to photographers and videographers. It’s a term to express the difference in the darkest points to the lightest points in any shot. Digital cameras have historically had trouble with dynamic range (far more than film). The technology is getting better every year, but the ability to have both dark spots (like shadows) and bright spots (like windows) on a single shot is still not great.

So when you or your photographer is shooting in rooms with big windows or bright lamps or anything that can affect the dynamic range in a photo, talk about it. What can you do to keep the overall lighting more consistent (or “flat”) within the shot. Do you need lighting equipment or flashes? Can the windows be dampened with filters, or if nothing else, shutting the blinds? What will both even out the lighting and still make for a good shot composition? This is a tough one some time.
Most photographers will bring lighting equipment and they can even out the exposure to some degree in post, particularly if they shoot RAW format (most do shoot RAW).
Tip 5: Minimize Clutter
This may sound obvious, but it’s a very common mistake in photo soots for the web. Clutter is very distracting and sometimes it’s hard to see the clutter until the photos are already taken.
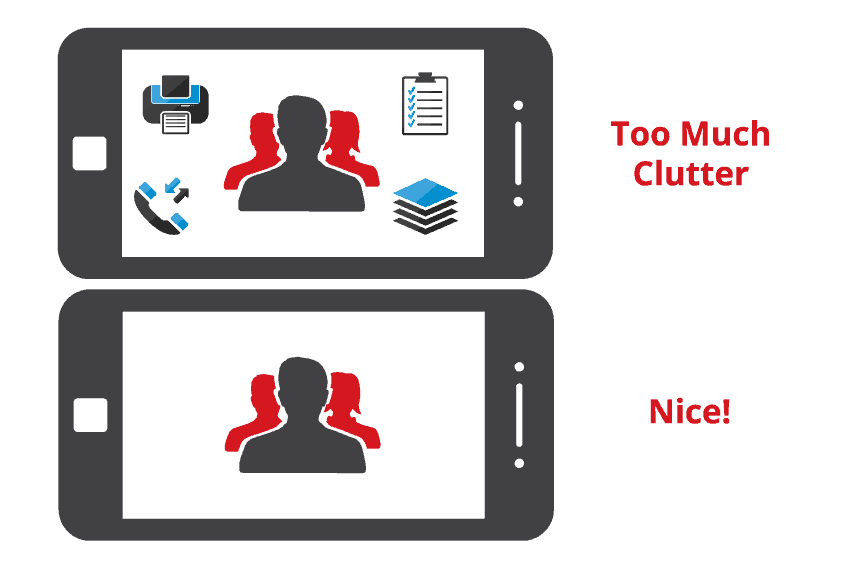
What do I mean by clutter? Clutter in offices can be things like paper, telephones, writing instruments, printers, computers, just about anything that sits on your desk. It can also mean wall decorations, bookcases and other objects in your office environment that you may not notice on a day-to-day basis.
Think of how real-estate companies want to “stage” houses with a minimum amount of your personal belongings in them when they are shooting or showing them to prospective buyers. It’s a similar concept here.
Deciding on what to include and what to remove from shots can be painstaking, but a really important part of the process. Generally, less clutter equals better shots. One last thought here… review the photos on the fly in detail. Try to really look closely at them while you are shooting to see what’s int he frame that might be better off not being there. Shoot… find… remove… repeat.
Tip 6: No Post Processing (Filters & Effects)
Seems like everyone loves shooting photos on instagram, Facebook, Snapchat and immediately applying filters and effects. This is a big no-no for web photography. Once an effect is applied, you’re committed to it. It may or may not match the aesthetics you are trying to get with the website. Or worse yet, if different types of filters are applied for different photos, you can have a huge mismatch.

Recently, we had a client hire what was likely not a very experienced photographer with some good equipment. The photographer gave us different photos in color, black and white, sepia (think old western photos) and a slew of colorizing effects thinking that they were being helpful. We couldn’t use hardly any of the photos and we had to go back to the drawing board. It was a mess and delayed the web design schedule.
So please…. whether you are hiring a pro or doing it yourself, Please do not do any post production filtering beyond exposure settings. What your web team will need is the best exposed shots and then during the web development process itself, they can put the kind of filters that lend themselves to the web design and aesthetics they are trying for.
Tip 7: Let’s get RAW
RAW photo files are called RAW (which I don’t think is an acronym, but I might be wrong) because they basically aren’t compressed or manipulated in any way when they are saved to the camera’s hard drive or external card. RAW files are absolutely the best way in the past few years to take and save photography.
We recommend that you shoot with RAW and if possible, provide your web designer with the RAW files. This can be tricky for a few reasons.
First if you yourself are shooting the photos personally on your phone, the native camera apps don’t support RAW format. You can find several apps that will shoot in RAW for both Android and iOS, but they may cost some money to download.
Secondly, your photographer may be reluctant to provide the RAW files or may not allow it as a rule. That’s a business decision of the photographer and not an uncommon policy.
If you can’t shoot in or get the files in RAW format, try to provide the web designer with as high resolution .jpg files as possible. Your web designer can compress and resize for the website.
Bottom Line
The use of photography can really improve the overall aesthetic of your website. Conversely, low quality or poorly shot photos can be a detriment to that great design you are looking for. Be sure to give this part of the web design process ample attention and if possible budget to get the best quality you can!